
One of the best ways to use a tool like Excel is to build out a project. In this example I will be using Excel to build a simple grade book for tracking grades in a class. I’ll be using some simple formulas and doing a bit of formatting to make it look good.
Let’s start by creating a list of assignments. For this class we will have 4 Homework Assignments, 3 Quizzes and 2 Exams:

Next, let’s get some students:

Now let’s get some grades. You can input them all manually or we can use the randbetween() function to fill them in.
For Homework, lets imagine each assignment is worth 20 points. So we can run the formula =randbetween(0,20) and drag it across to fill all the HW cells:


Let’s repeat this process for Quizzes and Tests. Make Quizzes worth 50 point, and Exams worth 100

Now lets calculate the grades:
For Homework, the formula will be simple, add up the 4 grades, divide by total point possible (80). This will give you the percentage in decimal form.
To make this more readable, let’s add a new column call HW_Total

Repeat for Quizzes and Exams (remembers quizzes are out of 50 points, and Exams are 100 points)


We can reduce the number of decimals showing by using the ribbon bar.

Now, before we create a final grade, lets use Range Naming to make this part easier – if you are not familiar with Named Ranges: Click Here for Lesson

Let’s name HW_Totals HW, Quiz_Total > QZ, Exam_Total > EX

Now, here is where it gets tricky. We want homework grades to be worth 20% of the final grade, quizzes worth 30% and exams worth 50%.
Using named ranges we created we can use the following equation: =HW*.2+QZ*.3+EX*.5

Note once you hit enter, it fills in the grades for all the students


Okay, so we have a working grade book, but it isn’t pretty. Lets start by highlighting all the assignment titles, then bolding the text. We can also add some borders


Let’s separate the sections with background colors
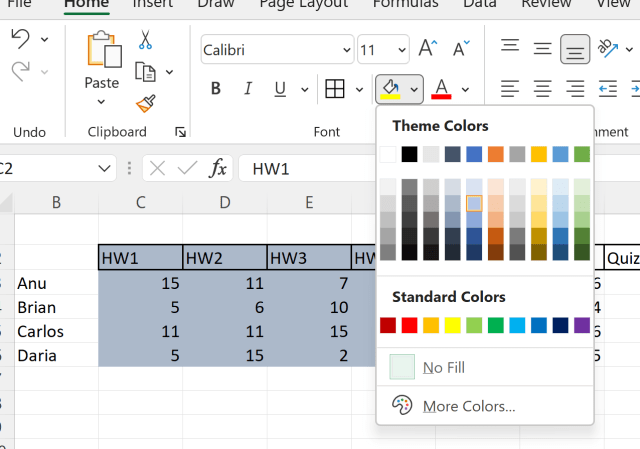
Have fun, try different colors for each section, play with the borders

